|
|
|
|
|
To add an image to a decision using the Advanced Decision Editor:
- From within the WFDSS application, choose the Incident tab. The Incident List appears.
- Select the incident you want to edit, then click View Information. The Incident Information page appears.
- Choose the Decisions tab > select the Pending Decision > click Edit. The Decision Editor page appears.
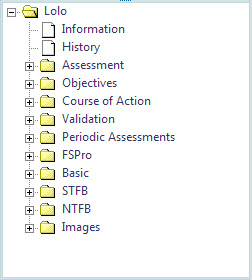
- Navigate to the Images Folder in the Incident Content in the lower left corner of the Decision Editor.
Figure 1: Images Folder
- Select the image to be inserted.
- Place your cursor in the Text Editor pane (large area on the right side of the Decision Editor page) where you want the image to appear.
- Click the
 WFDSS Clipboard icon to insert the content. (The icon is on the upper left side of the text editor).
 - Click Save. The image is now part of the decision document.
When you are done editing the decision document content, you can navigate back to the Decision tab to Check-In the Pending Decision.
-----------
Last updated on 9/30/2016 3:46:11 PM.
In This Section |
See Also |
Reference |